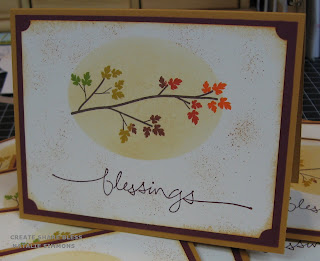
 I only made a handful of Thanksgiving cards this year. It was a simple design using only ink, paper, stamps, a corner punch and a technique called reverse masking. In traditional masking, you want to first stamp an image, then cover it to stamp the next image. For reverse masking, you first create the background, then the foreground.
 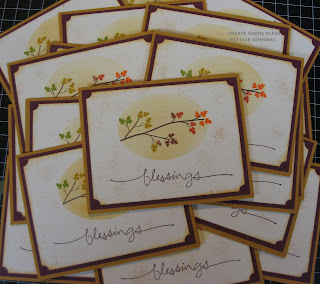 Cardstock: SU!, Inks: SU! & Tsukineko(Kaleidacolor pad), Stamps: SU! & Papertrey Ink, Accessories: SU! I used the colors Very Vanilla, So Saffron, Bravo Burgundy, More Mustard, and Chocolate Chip.
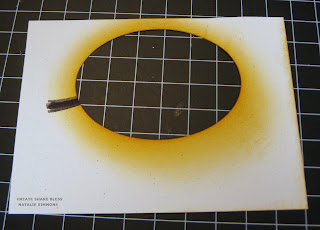 This is the actual "mask" I used for these cards. I cut this piece the same size as my stamped layer, then cut the oval out in the exact position where I wanted the sponged oval to show up on my card. It made it so easy to lay this over the cardstock and have it in the right spot every time. You can see that I swirled on the So Saffron with my sponge and it inked the "mask", too. I also used the mask when stamping the branch. I wanted the branch to appear as if it were peeking out into the foreground so I stamped it using the mask, removed the mask, then stamped the leaves.
 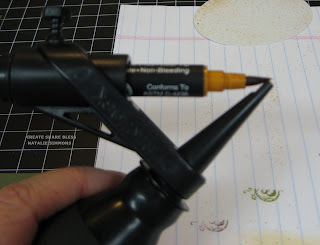 I don't use this tool very often, but it does allow me to add varying degrees of color splatter quite easily using my Stampin' Up! markers. You insert the marker into the barrel and tighten the plastic screw that holds the marker in place. The most imporant part of this step is to make sure the brush tip of your marker is placed correctly so that when the air spurts across the tip, you get a good splatter of ink on your project. I know the pic is blurry, but you hopefully can get the idea.
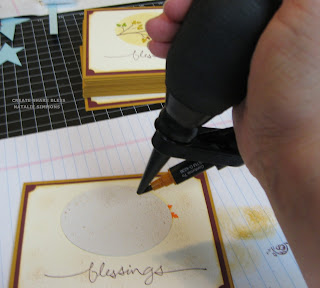 After completing the reverse masking step on my card front, I laid the cut out oval on top of the sponged oval area. This covered the stamped area(traditional masking) and ensured I didn't get splatters of ink on that particular spot. Since the card front had a lot of "white" space, I thought the splatters of ink helped break that up a bit. When using this tool, you can achieve larger or smaller splatters depending on how close you put the tool to the cardstock and how hard you squeeze the bulb on the tool.
May each of you have a wonderful and blessed Thankgiving! I'll post again when I have a chance. My goal this weekend is to get my Christmas cards mailed, so between puppy play time and potty breaks, I'll be feverishly finishing that project. :)
No comments:
Post a Comment